Rice Kicked Up A Notch
Rice is one of those staples in a house that most everyone has. Brown/White/Long or Short Grain, there are millions of different types of rice that can be used for just about anything. Rice is one of the most versatile bases for anything. I mostly use it to bulk up my leftover meats and veggies. Always good if you add it into a burrito or as a side dish. I was surprised to think that I needed to review how to make rice. Don't we all just follow the directions on the back of the bag or box? Or even better, use a rice cooker? I have even been so lazy as to make the 90 second rice in the microwave. Not any more! After looking at the price per pound as well as all the "extra" ingredients, its just a smarter, healthier and economical way to have rice in our diet. I decided that this could make life a little more interesting. The best part of this was again, I didn't have to stand next to the stove and stir the rice or wait for it to boil over and then try to "simmer" to that "perfect" simmering temperature. The oven comes to the rescue again. I started out with 4 cups of liquid. In my case I had about 2 1/2 cups of left over chicken stock (from the box of course) and then supplemented water for the rest. Alton Brown suggests to warm it up to boiling in a kettle. Unfortunately my kettle is in our camper and I wasn't about to drive to get it for this. In the picture you can see the blue small sauce pot. I am sure there is a "correct" name for it but have no idea right now. I brought it to a boil and then turned it off. Into the big green pot went 1/2 diced onion and 2 TBSP of minced garlic. These are two staples in my house. ALWAYS. When I don't know what to make, I always start with that.

Oh wait, before you put the "aromatics" into the pot, I added butter (2 TBPS) until it stopped foaming. Hence the brown color in this pot prior to the onion and garlic. I think I let it go a little to long but I kept going anyways. Brown means flavor right?
Now into the pot went the onion and garlic.
Next, 2 cups of white rice. As a side note, this recipe is called Pilaf. Pilaf is the method of how this rice is made. This is the first time I have ever made "pilaf" without a box. I actually thought rice pilaf just meant that it had almonds or some type of nut in the recipe. Shows how much I know. After you have added the rice, the rice actually toasts and creates a nutty smell and flavor. It actually smelt like toasted nuts at this point.
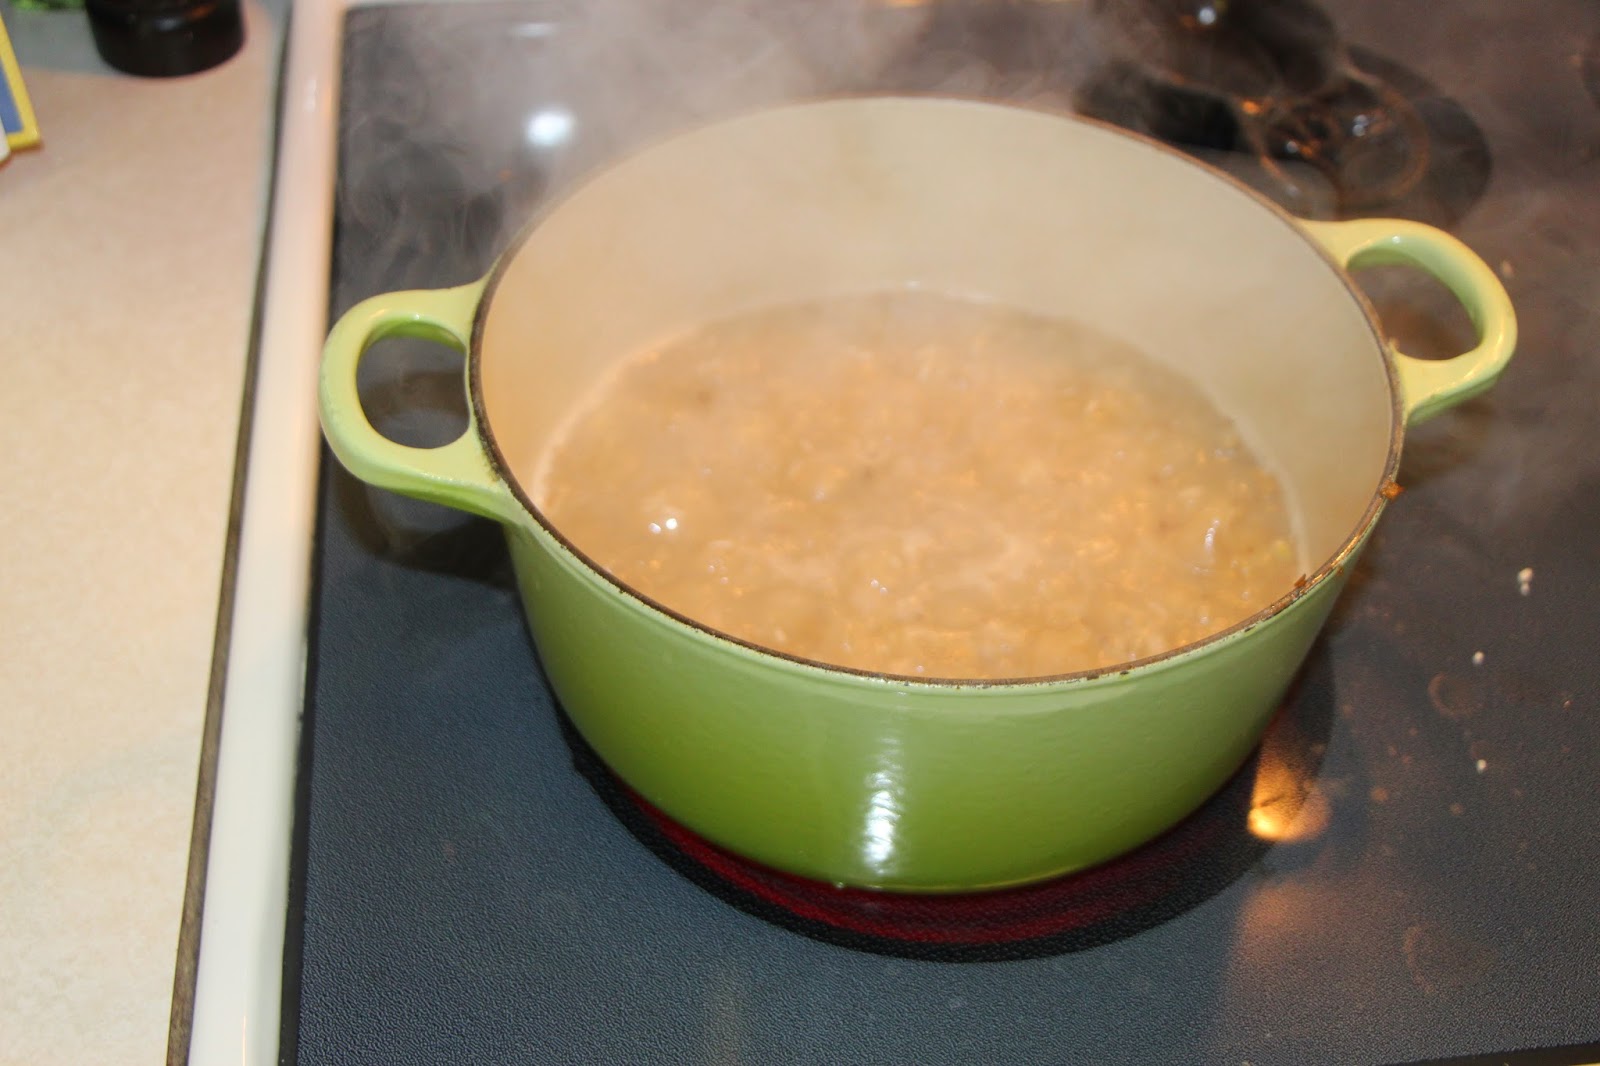
After the smell had been achieved, the liquid went in. The sizzle sound happened. At first I panicked because I thought for sure it would boil over but once I stirred the rice, the sound died down.
Next up is to place the top on the pot and place it into a 375 degree oven. This is by far the best part of the recipe. I can walk away and know that the rice will be perfect after 17-19 minutes. Another side note, previously I have used a rice cooker. I liked it, but most likely because I didn't know better. Or it could have been because our rice cooker sucked. Either way, at this point, this was soooo much easier and I didn't have to get out another tool for the kitchen. After the 18 minutes, I pulled it out to find this. Yummy golden brown. Of course this is NOT burnt. Golden brown means flavor!!! The golden brown you can see in this picture is the onions.
I serviced it with BBQ chicken and a Mexican veggie mix of corn, black beans, bell peppers and tomatoes.
As an FYI, after cooking rice you should never stir rice but use a fork to "fluff" the rice. It helps to prevent the rice from clumping or sticking.
Overall even though it was a simple dish, I learned a lot. Just plain rice is boring! Adding a simple onion and garlic and change both the texture and flavor of the rice without the extra calories. The other amazing thing is that it is versatile. Mexican, Italian, or Asian flavors can all be bulked up with a side of rice or mixing it together.